


Aargh
Saw too late that I made a typo in my email on that first comment.
The Correct Way To Attach Borders to A Quilt Top
If you are new to quilting (or maybe just new to borders), you might not know that how you attach your borders can mean the difference between success and total failure! And I'm not being dramatic! Let me explain...
No matter how hard we might try, no quilt top is ever going to be 100% square! Measure the last quilt top you finished, there's a good chance that the left side is an 1/8" or so shorter or longer than the right side.
And because no quilt top is square, we cannot simply measure one side of the quilt and cut our borders to that size. Or even worse yet, cut the border longer, attach it and then trim off the excess. Neither of these methods will do! We need to find an average by measuring 3 points in our quilt, adding those numbers together, and then dividing that total by 3. You'll find the details and instructions on how to do this in step 2.
This number is the length we'll cut our border fabric. Now, when you go to attach the borders, you will most likely find that the border is either slightly bigger or slightly smaller than the edge of the quilt. That is ok because we are going to ease the border onto the quilt top. This step will help square out the quilt a bit. See step 3.
This will make things much easier for quilting. If you don't attach borders using this method, you will end up with excess fabric around the edges of the quilt which you will need to fold and tuck during the quilting process. If you have a longarmer quilt your quilt, it may cause issues with loading the quilt onto the longarm.
Now you can see that if you don't attach your borders properly, you'll end up with a very wonky quilt top that will be very stressful to quilt.

Amber Sunset Quilt Kit
Step 1: Preparing Your Borders
Cut your border fabric the desired size by WOF. Sew strips together. Figure 1 i.e., if your quilt top is 90" long, sew 5 strips together that are each 42". From this, you can cut 2 border strips.

Figure 1: Piecing your border
Step 2: Attaching Left and Right Borders
Measure your quilt top in three places vertically; the left side, the middle, and the right. Figure 2. Add those three measurements together and then divide them by three. Use that measurement to cut two strips of border fabric.
Pin the border strips to the quilt top right sides together. To do this, fold your Border strip in half and finger press to mark the centre of the strip. Repeat with the quilt top to mark the centre as well. Line up the centre of the Border strip with the centre of the quilt top, pin in place. Next, pin the left edge and then the right edge. Continue to pin the Border strip and the quilt top together in between those three points. Figure 3
When pinning, you may notice that the border strip is either slightly bigger or slightly smaller than the edge of your quilt. You'll need to ease the two fabrics together to avoid tucks while you sew.
Once you've got your border strip pinned to your quilt top, you can go ahead and sew them together. Press seams as desired.

Figure 2: Measuring your quilt top

Figure 3: Pin borders to quilt to to secure
Step 3: Attaching the Top and Bottom Borders
To attach the top and bottom borders, in the same manner as the side borders measure the quilt top in three places horizontally. The top, the middle, and the bottom. Figure 4. Add those three measurements together and then divide them by three. Use that measurement to cut two strips of border fabric.
Pin the border strips to the quilt top right sides together in the same manner as before. Sew and press seams as desired. Figure 5

Figure 4: Measuring for top and bottom borders

Figure 5: Attaching top and bottom borders
If you are adding more than one border to a quilt, continue with this same method for each additional border.
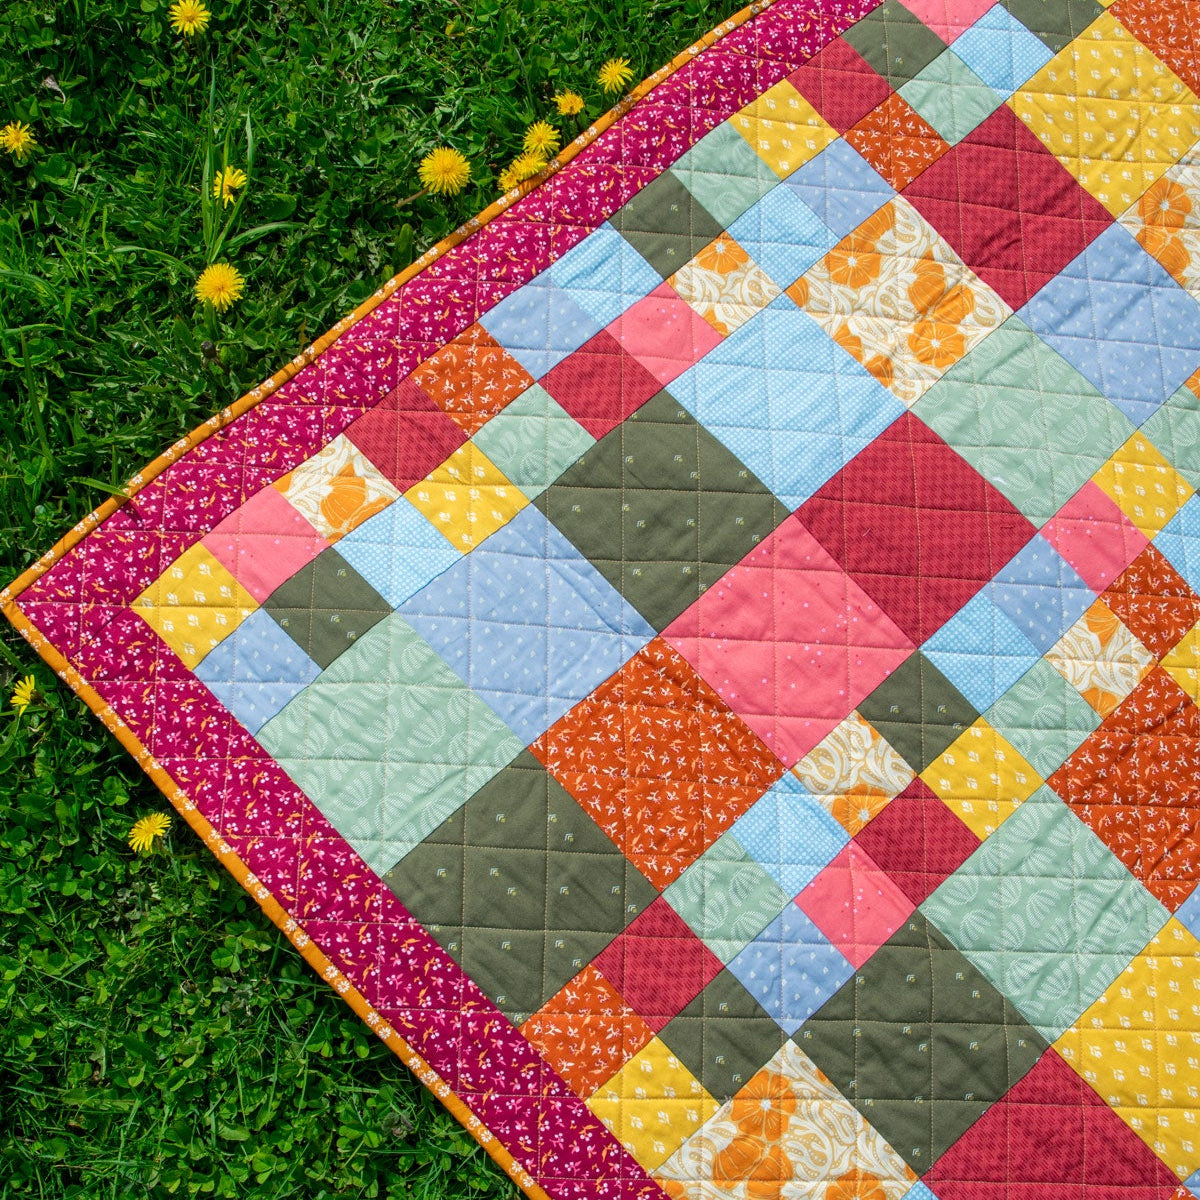
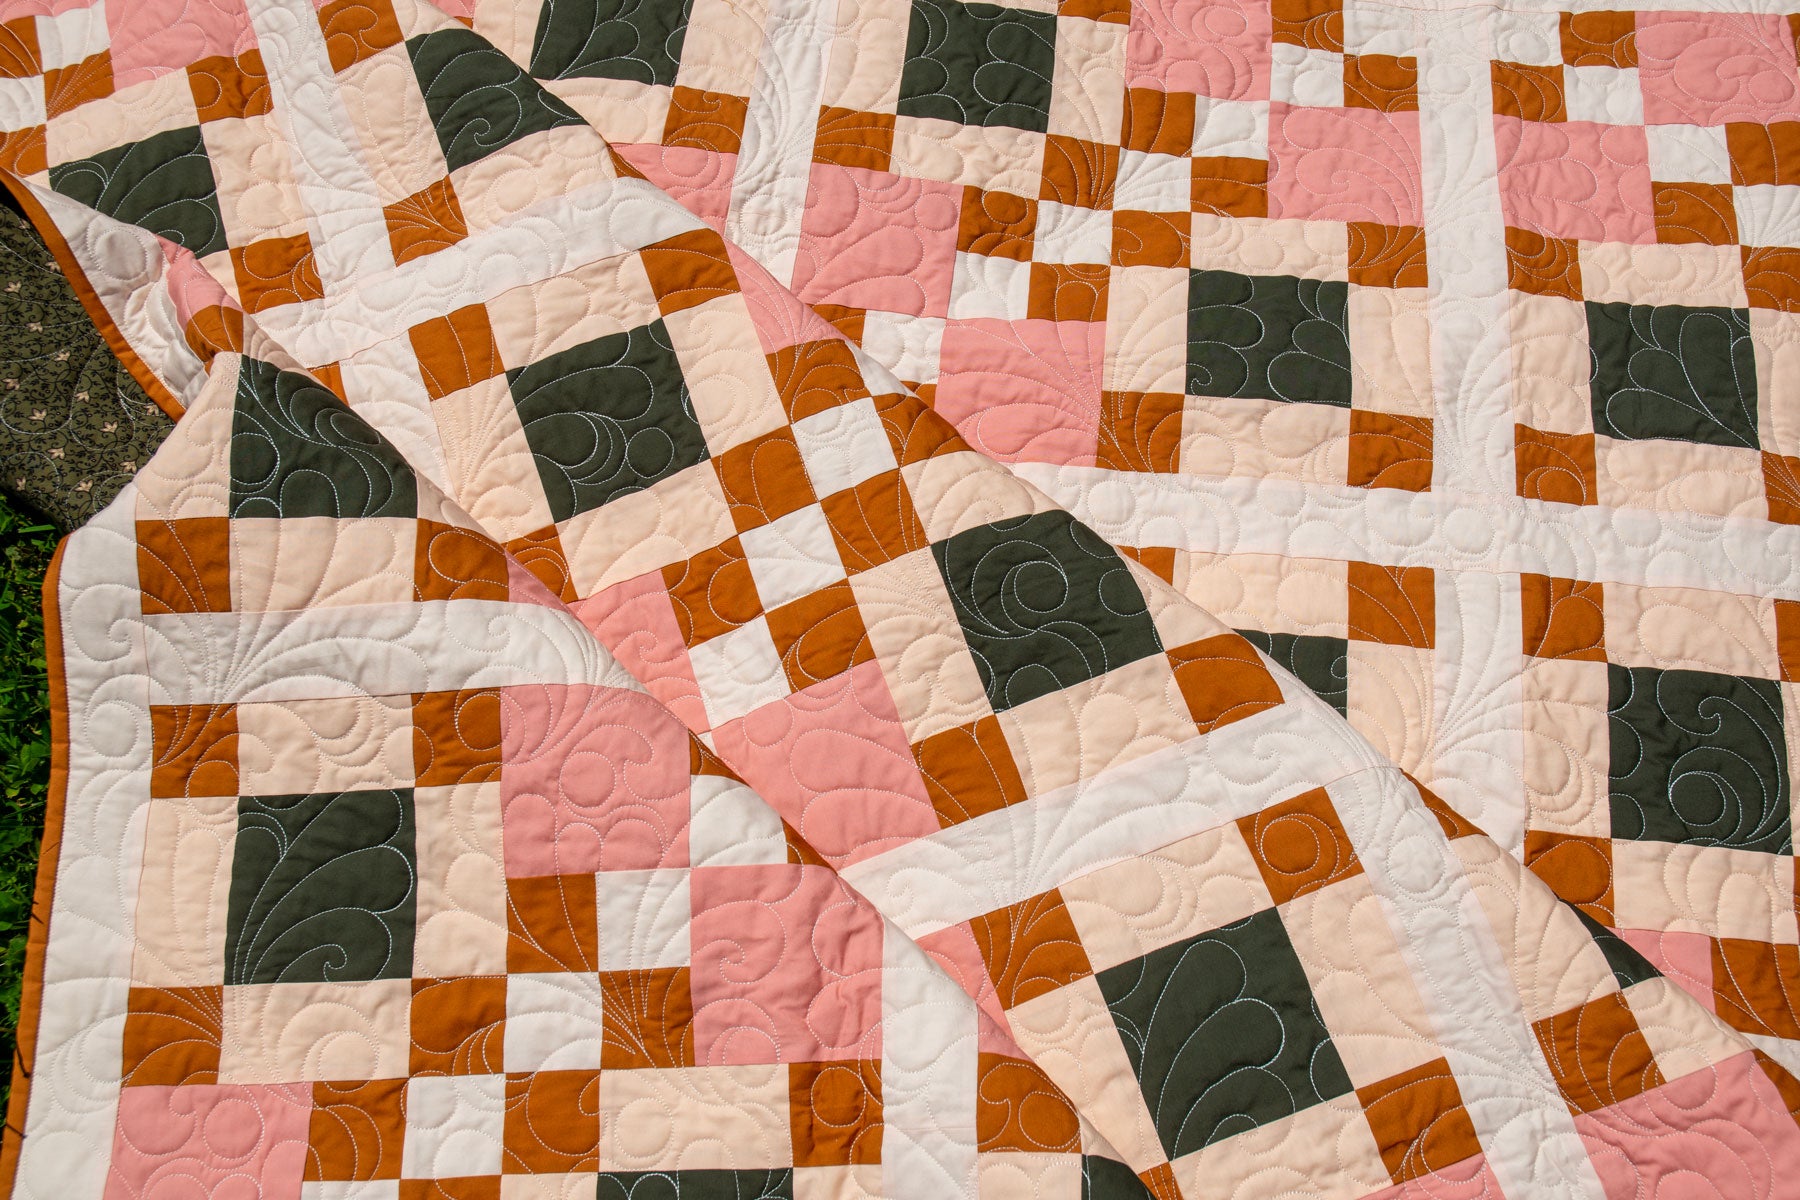
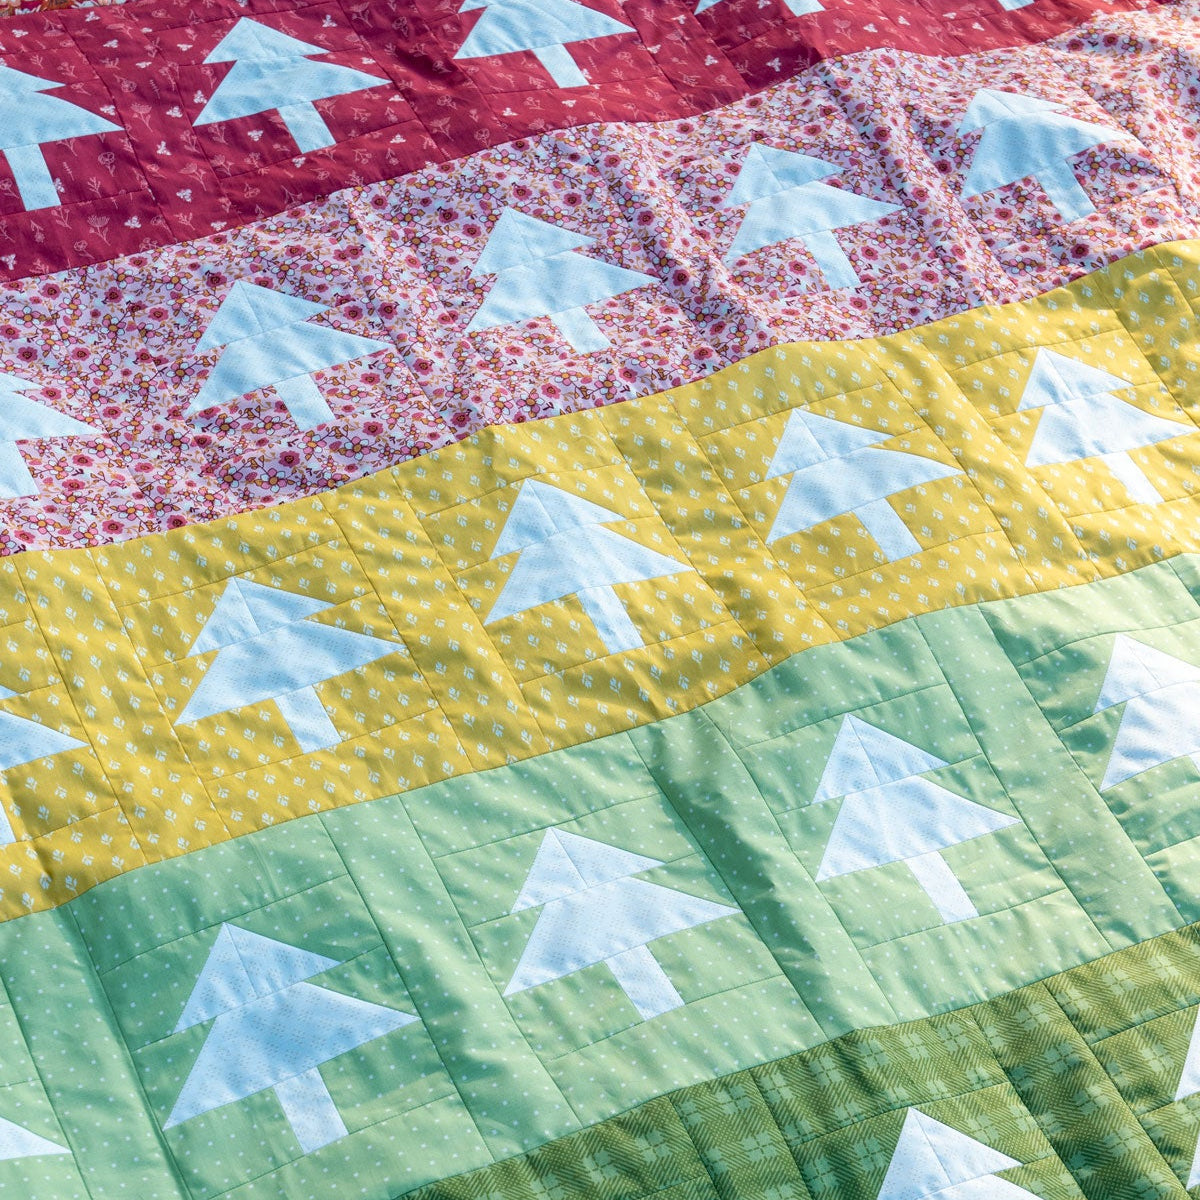
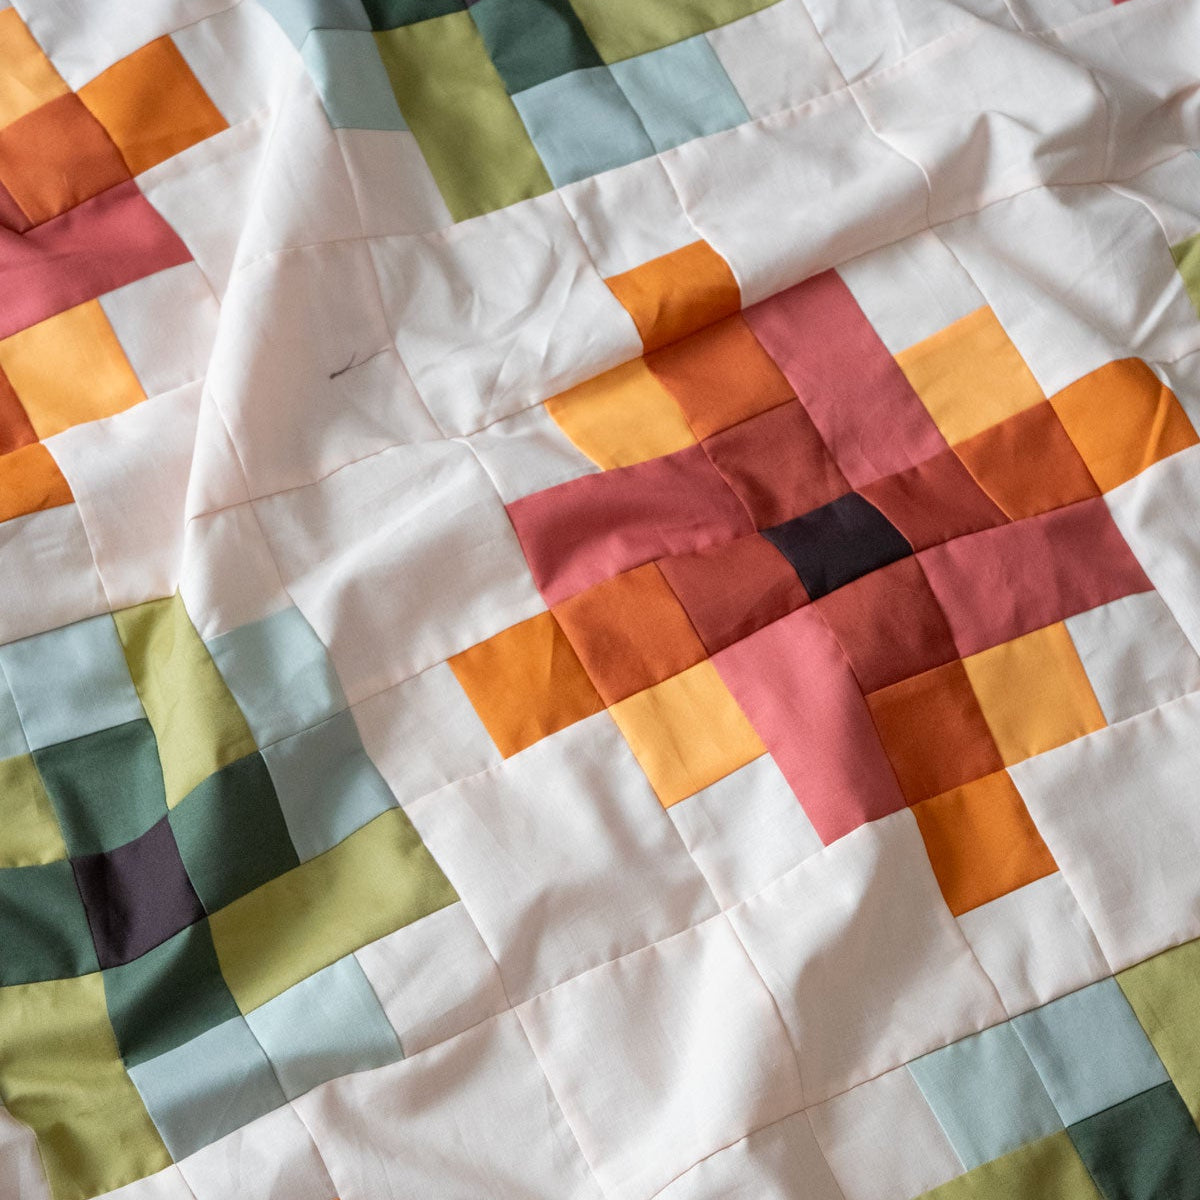
Quilt Patterns that feature borders
Test your skills! Now that you know how to attach a border to a quilt top, why not try one of these quilt patterns below? All of these patterns feature borders.

Meet the Author: Meg Kelly
When she's not writing patterns or piecing quilts, Meg is often hard at work writing quilting tutorials! Aside from quilting, Meg is also an avid gardener and accomplished knitter.
Comments
Love the tip. Any chance you have this info as a printable PDF?
T h ank you. It makes perfect sense. No more wavy borders.